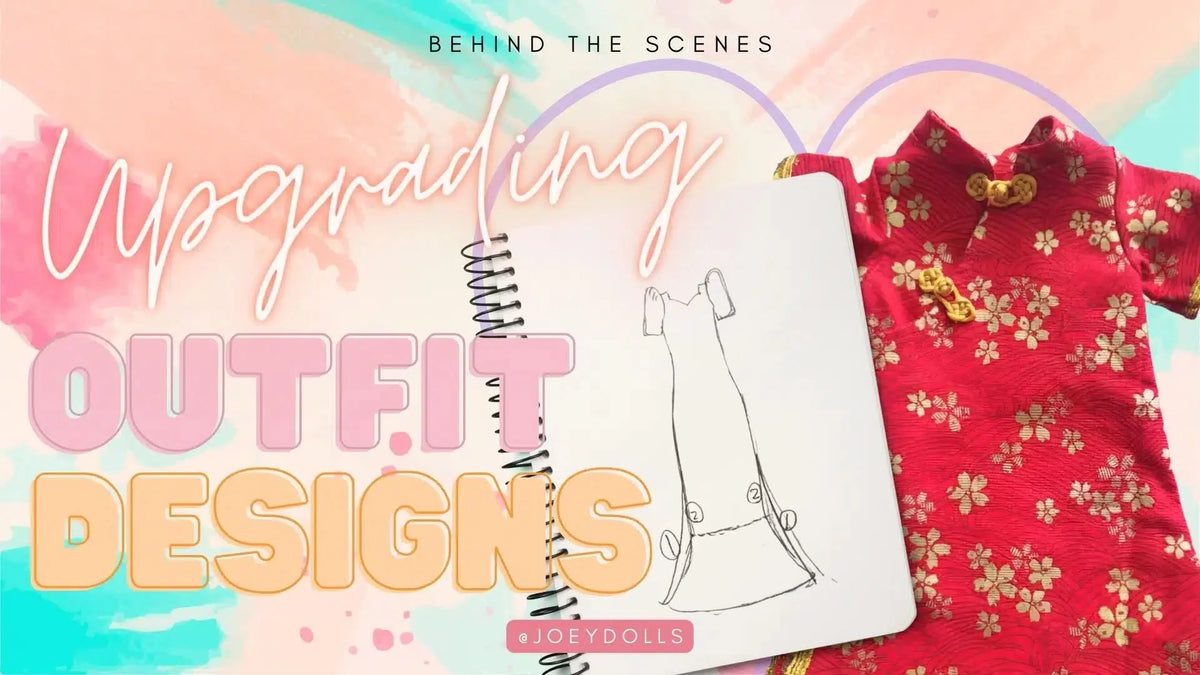
Behind The Scenes: Upgrading Outfit Design & Fabrics for Authentic Asian Dolls
|
Time to read 4 min
|
Time to read 4 min
At Joeydolls, we believe that Authentic Asian dolls should do more than look beautiful - they should tell meaningful stories, inspire cultural pride, and last for years of snuggles and play! 🌸✨
When we first dreamed up Joeydolls, our mission was clear: create dolls that nurture cultural education toys families feel proud to share with their children. But we knew we couldn’t achieve this by cutting corners, especially when it came to the outfit design and fabrics.
Table of contents
When I started Joeydolls, I was juggling so much. Six dolls in development at once. Minimum orders sky-high. Nearly all my savings gone during the pandemic.
I had no fashion background and zero idea about fabrics, construction, or production. To be honest? It was overwhelming!
But I believed deeply that these Authentic Asian dolls would make a difference - helping kids see themselves and their cultures reflected in a safe, soft friend they could hold close. So I jumped in with all my heart.
At first, we did our best with the resources we had. Our manufacturer almost brought my vision to life, but… something still felt off.
The fabrics didn’t have the durability or vibrancy I imagined. The tiny details that make our dolls so special? They needed more love!
So - I did what I do best: I researched. I tested. I connected with new partners who shared my perfectionist streak. And together, we brought Joeydolls’ outfit designs and fabrics to a whole new level.
Each Joeydoll now wears an outfit crafted with carefully sourced, high-quality materials - because Authentic Asian dolls deserve nothing less! Here are just a few of our improvements:
Better fabrics mean better play. They’re softer, safer, and more durable for tiny hands to dress, cuddle, and learn.
They also help each doll look and feel more like the real traditional outfits they represent - honoring the beauty of Asian cultures authentically.
We believe cultural education toys like these can spark big conversations and help our kids grow up proud. That’s the Joeydolls promise!
I’ve learned so much through this journey - about textiles, about manufacturing, and honestly, about myself.
I’ve learned that being a perfectionist can be powerful when you balance it with listening, evolving, and remembering that at the end of the day, our Authentic Asian dolls are here for the kids. Not for my ego!
To make our Authentic Asian dolls safer, softer, more durable, and true to the traditional outfits they represent.
Yes! We use child-safe fabrics and construction. Plus, our improved designs mean fewer loose threads and better durability.
Each doll comes with outfit details and a story that encourages kids to learn about different Asian cultures in a fun, meaningful way.
Visit www.joeydolls.com to meet our full family of Authentic Asian dolls!
Quality Counts: We carefully upgraded fabrics for durability and authenticity.
Cultural Pride: Our designs honor traditional Asian outfits.
Safe for Little Hands: Softer, stronger materials for worry-free play.
Behind-the-Scenes Care: Every detail reflects our love for inclusivity.
Community Driven: Your feedback keeps us growing!
Ready to find an Authentic Asian doll your child will treasure?
When you sign up for our Joeydolls VIP list, you’re not just getting early access to new dolls or sweet surprises (although, yes, you’ll get those too!).
You’re joining a family of parents and caregivers who believe every child deserves to feel seen, loved, and proud of their roots. 💕
Your feedback directly helps us keep improving our dolls’ design and fabrics. Together, we’re raising a generation that celebrates culture with joy!


